Easy Vanilla Bean Ice Cream
4-Ingredient Vanilla Bean Ice Cream: Naturally Easy
You don’t have to. You could just pick up a pint at the grocery store. But there’s something so satisfying about making your own ice cream at home. Especially when it’s simple, made with clean, natural ingredients. This homemade vanilla bean ice cream recipe is exactly that: easy to make, naturally flavorful, and perfectly old-fashioned.
There are only four ingredients—although, you could add more, if you want to make things fancy—and no cooking required (no eggs, hallelujah!). It’s not loaded with preservatives or unpronounceable additives; it’s just cream, sugar, and real vanilla bean paste, churned in your ice cream maker.
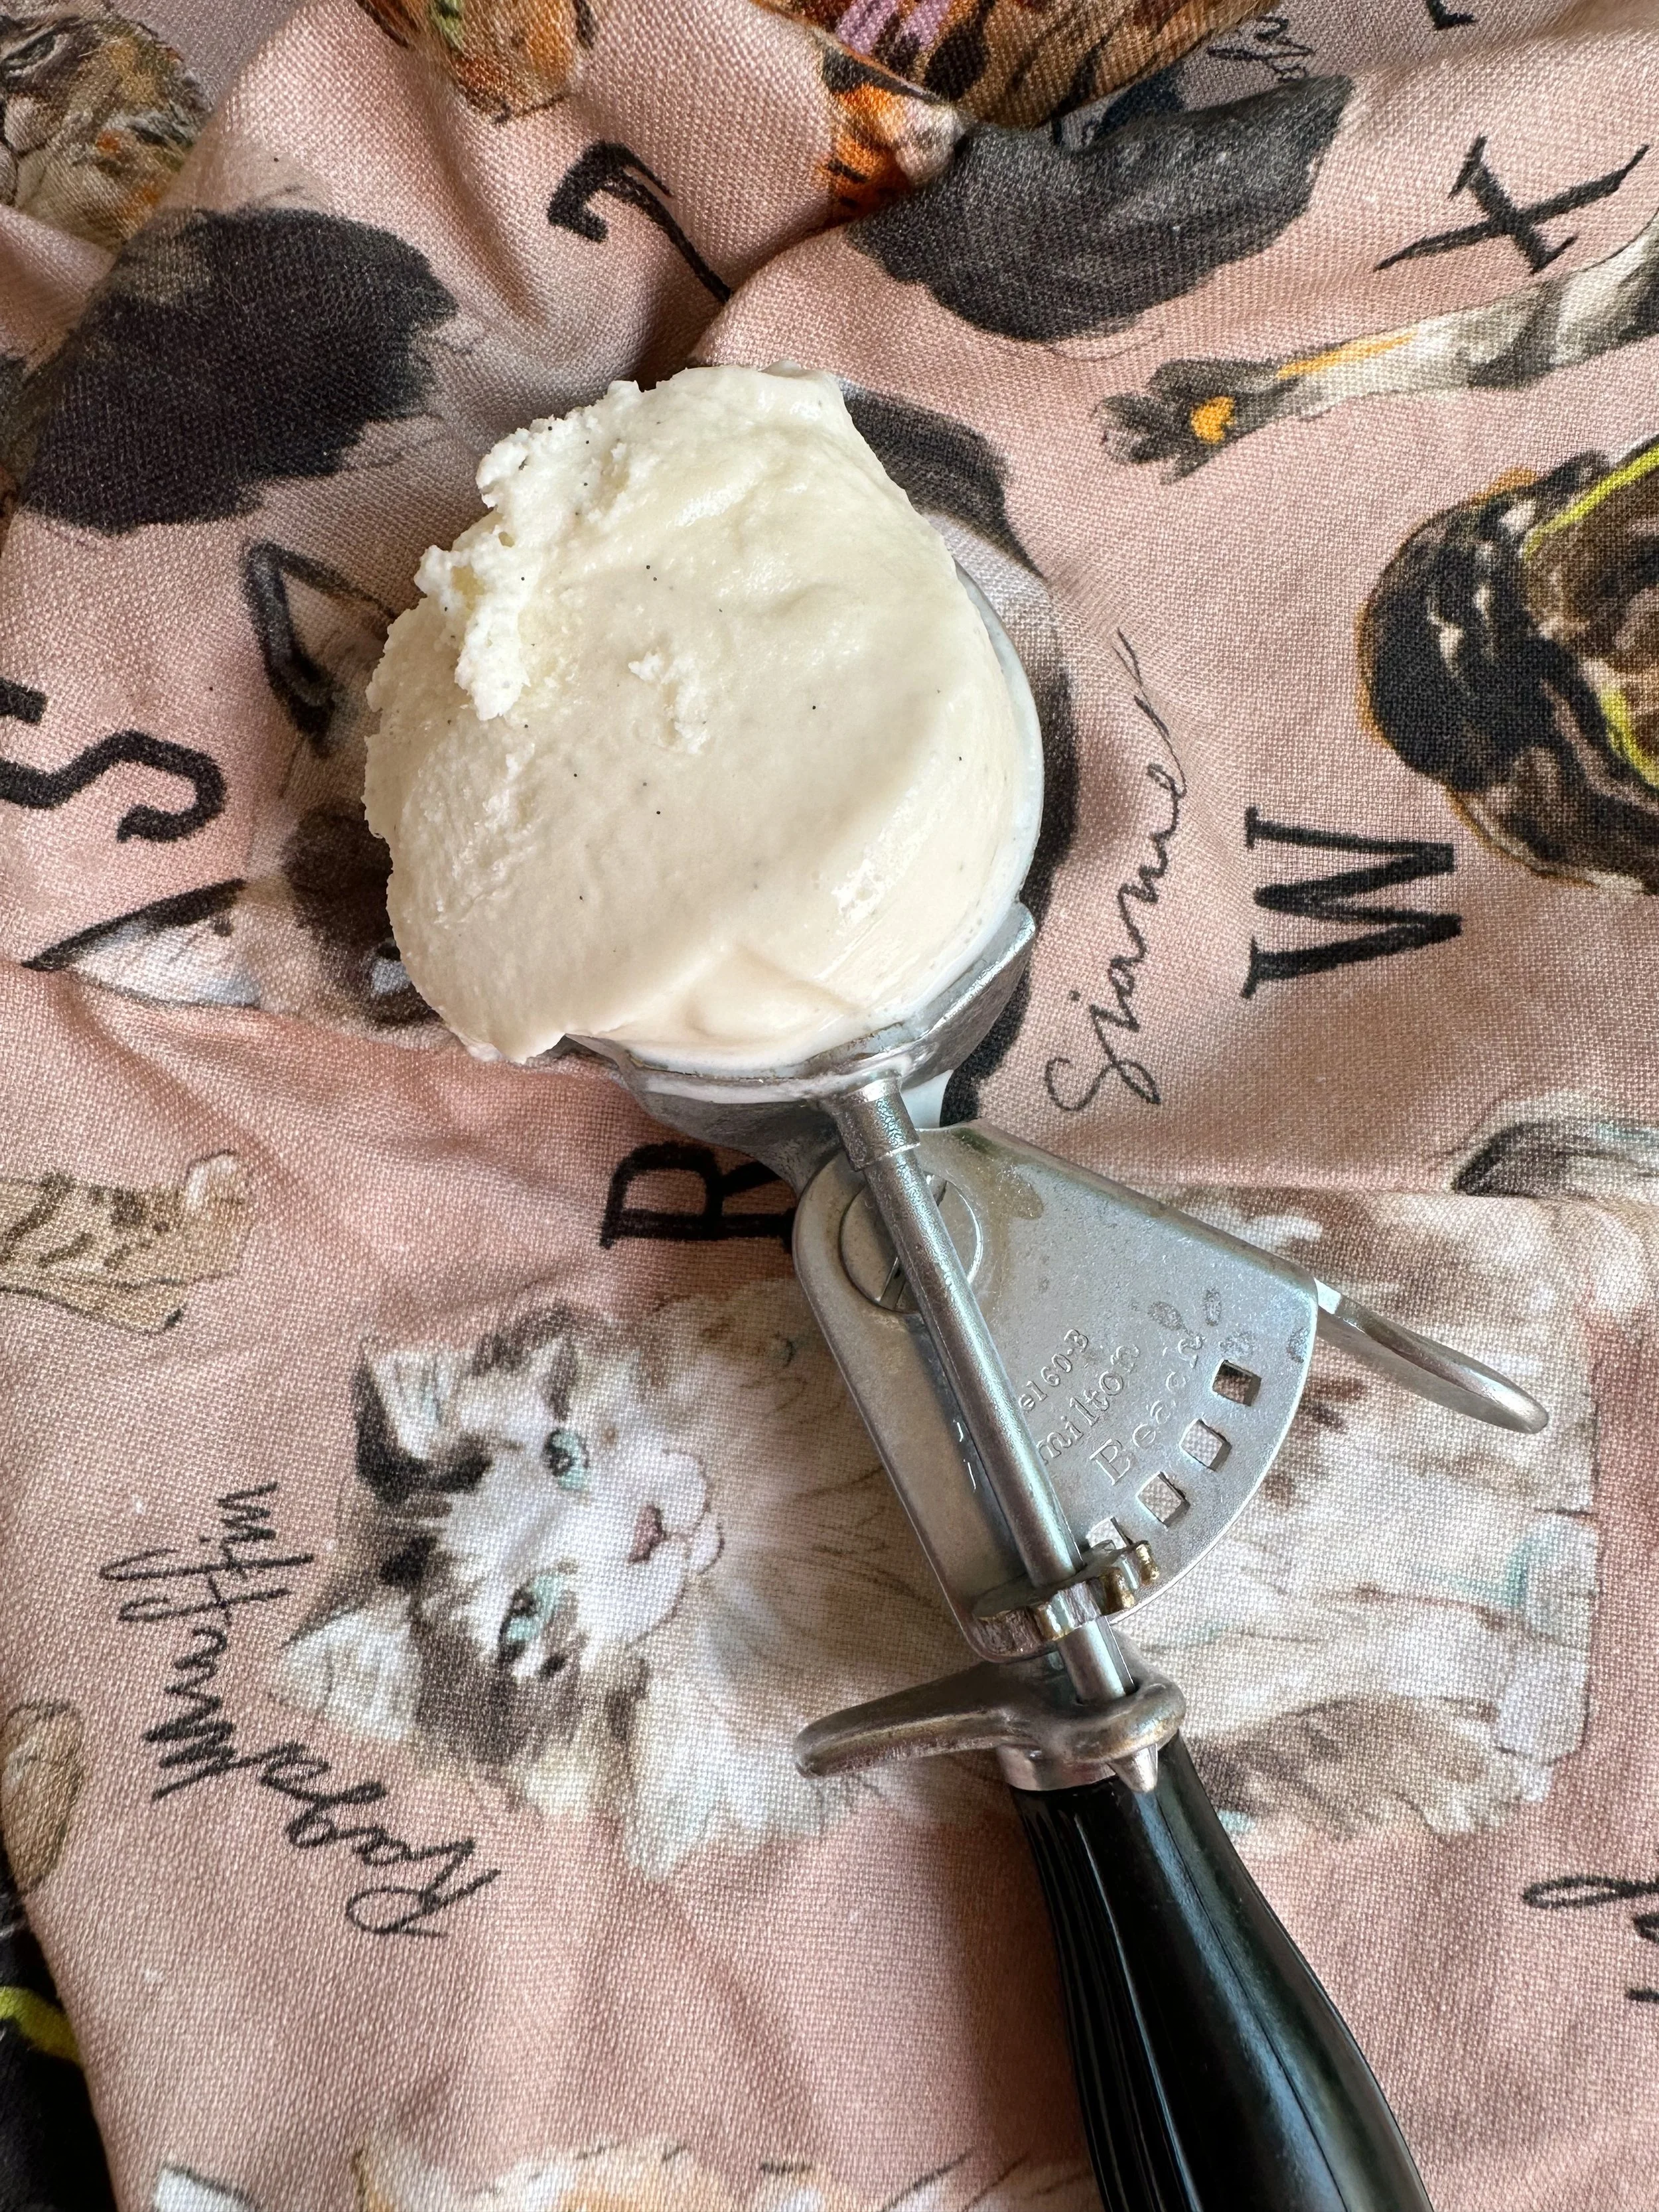
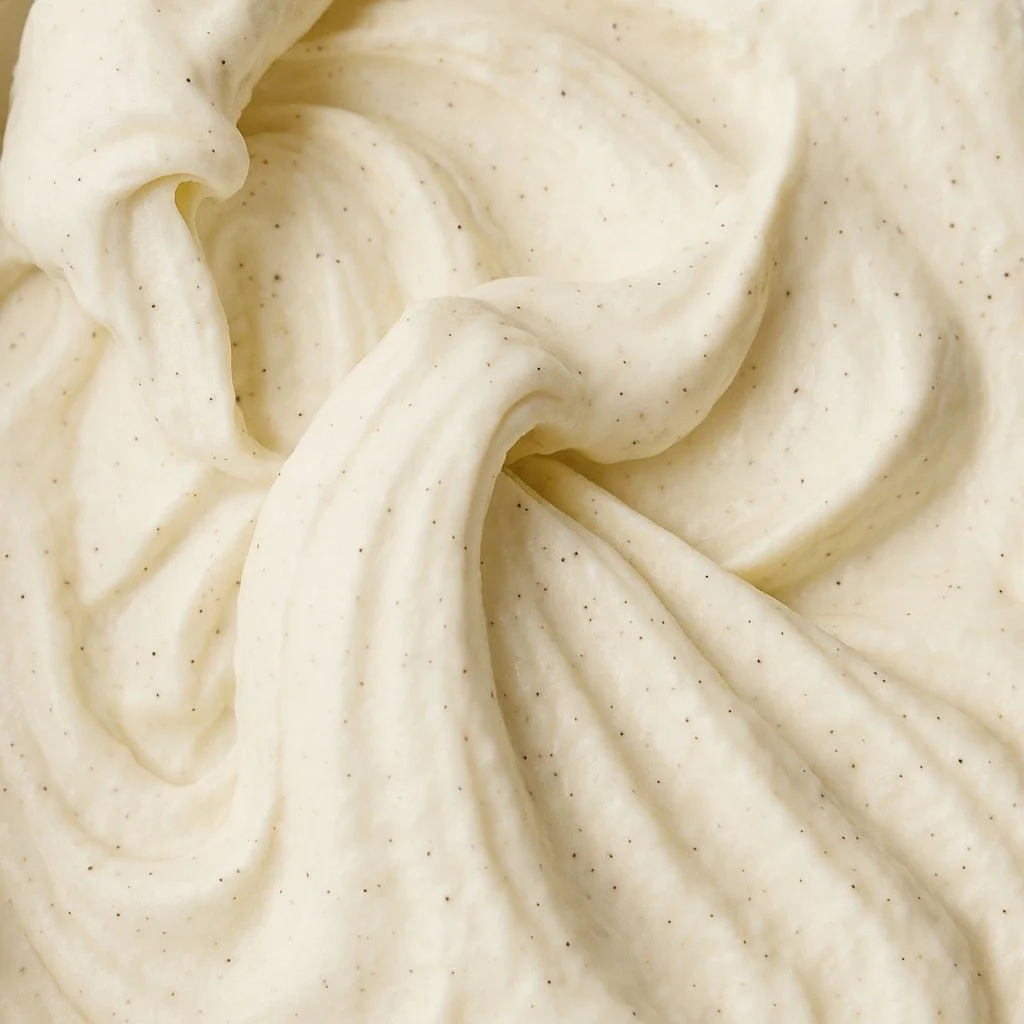
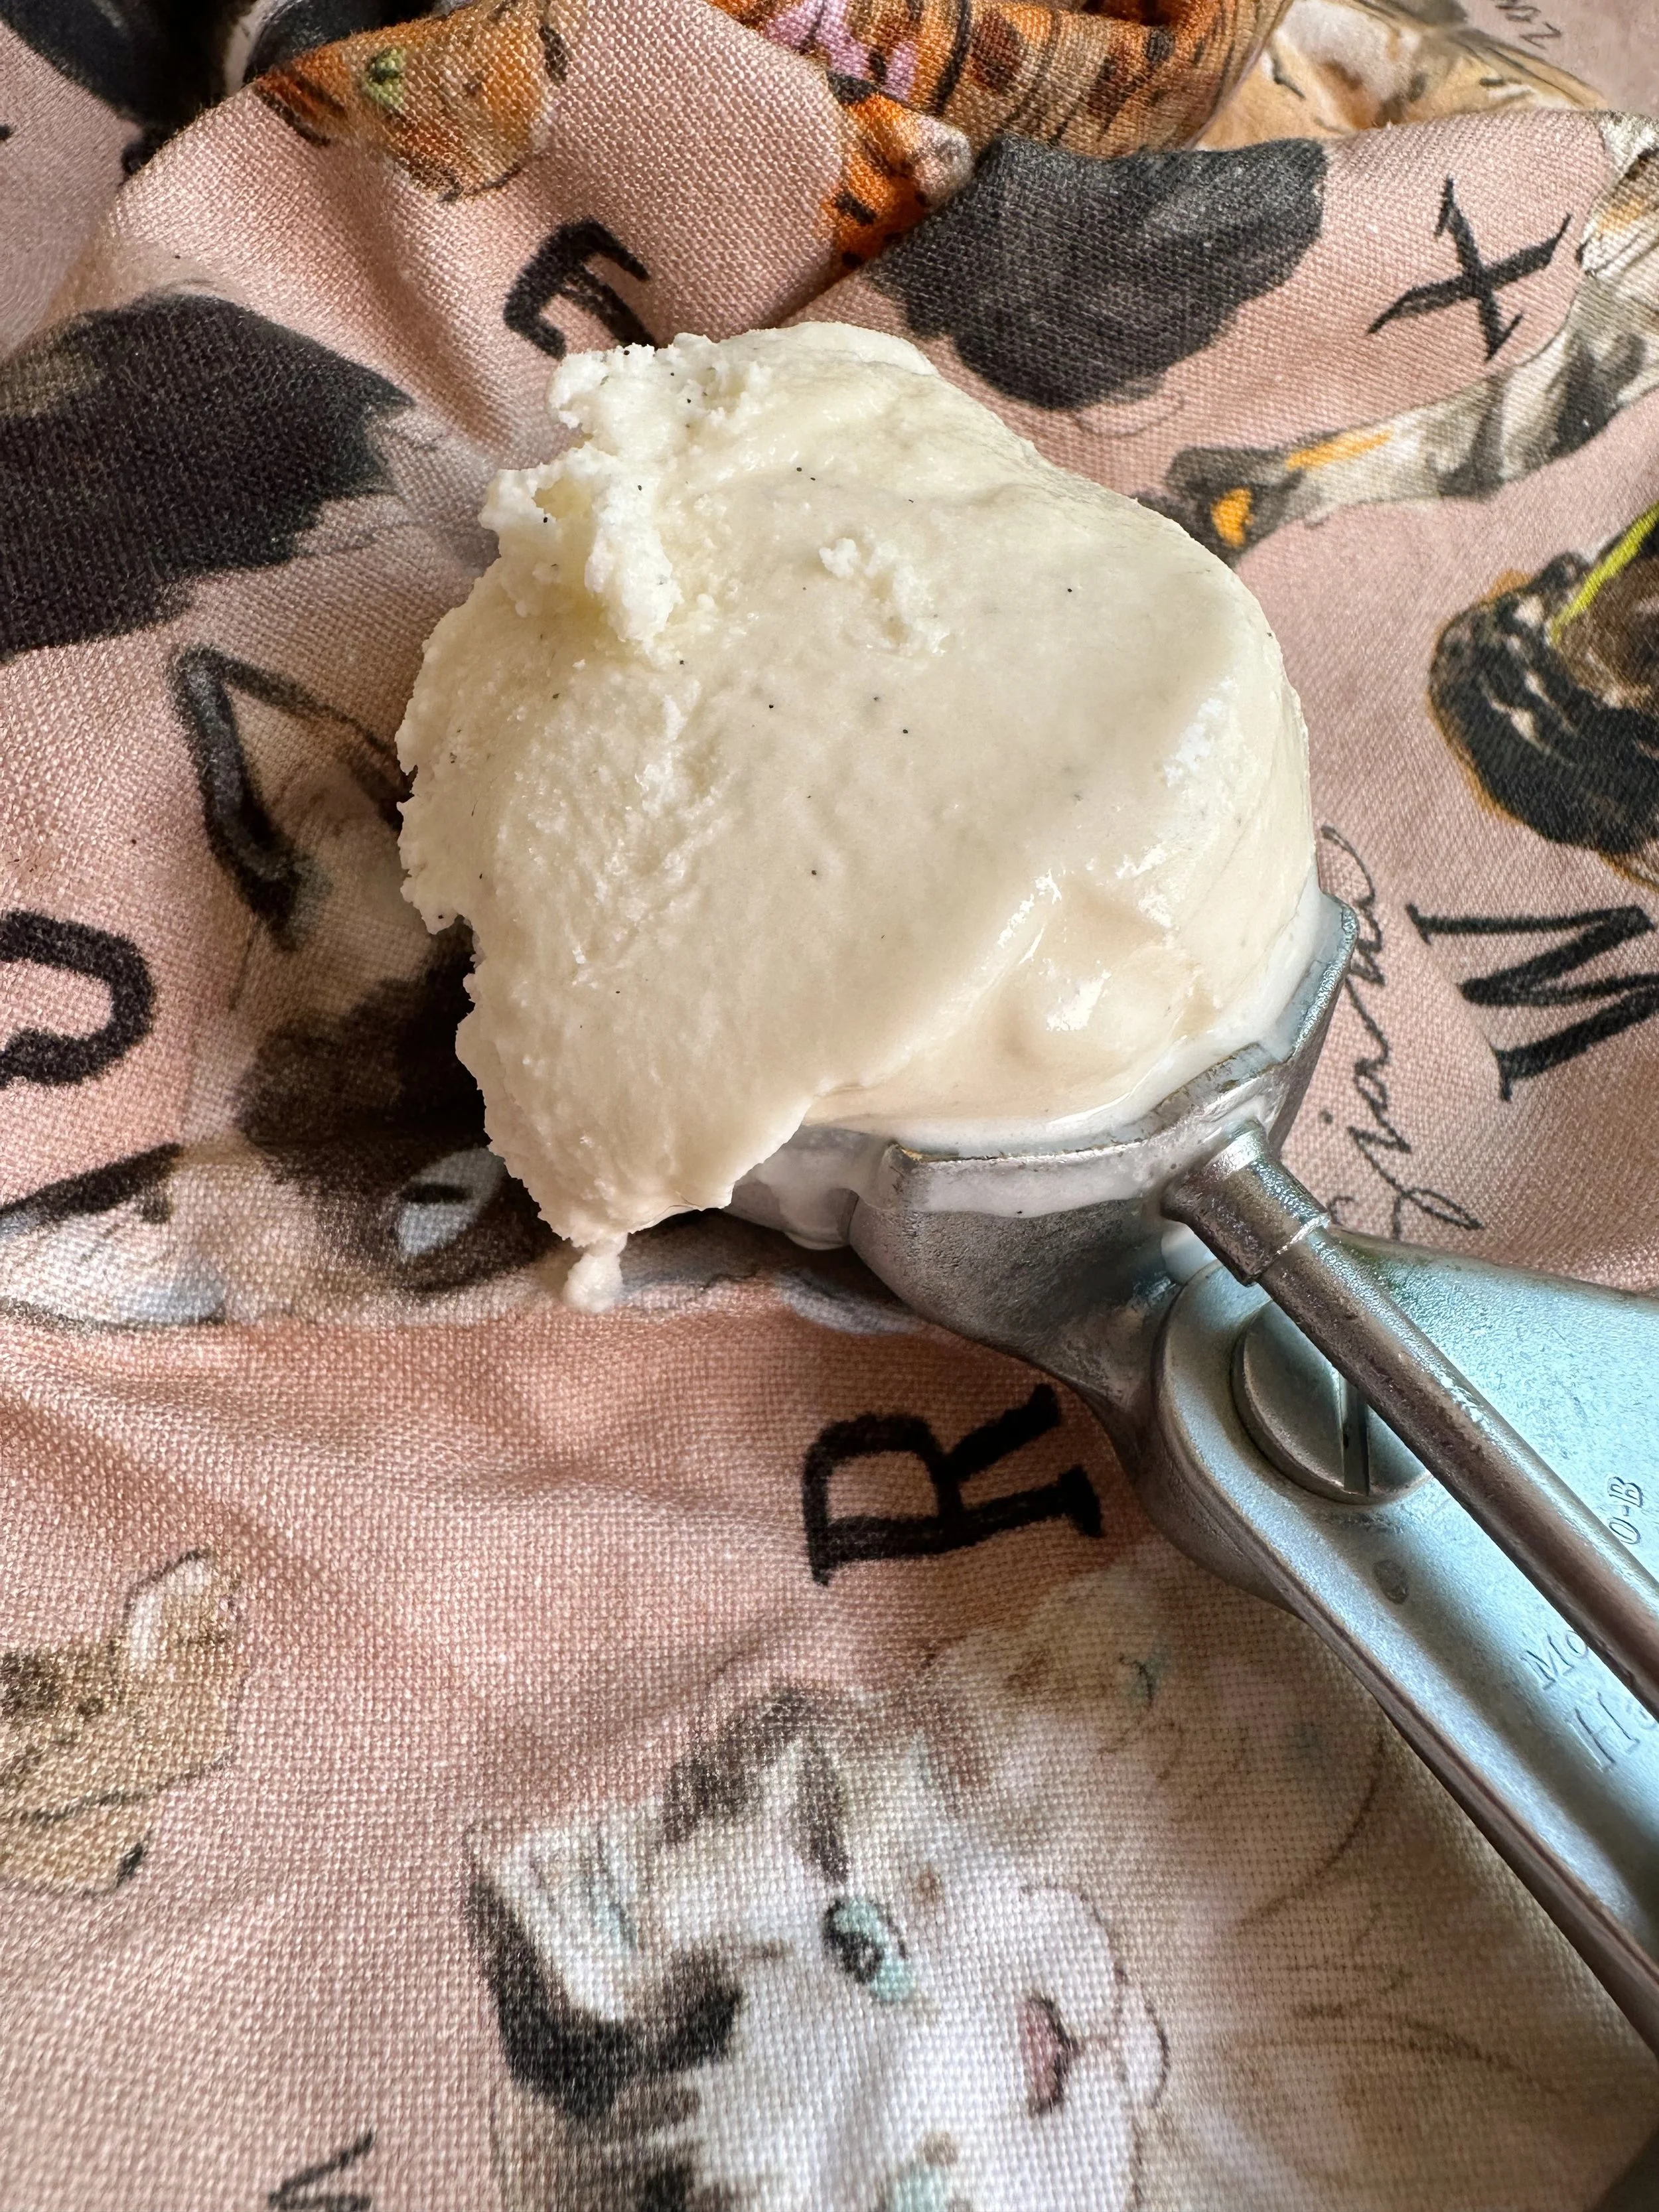
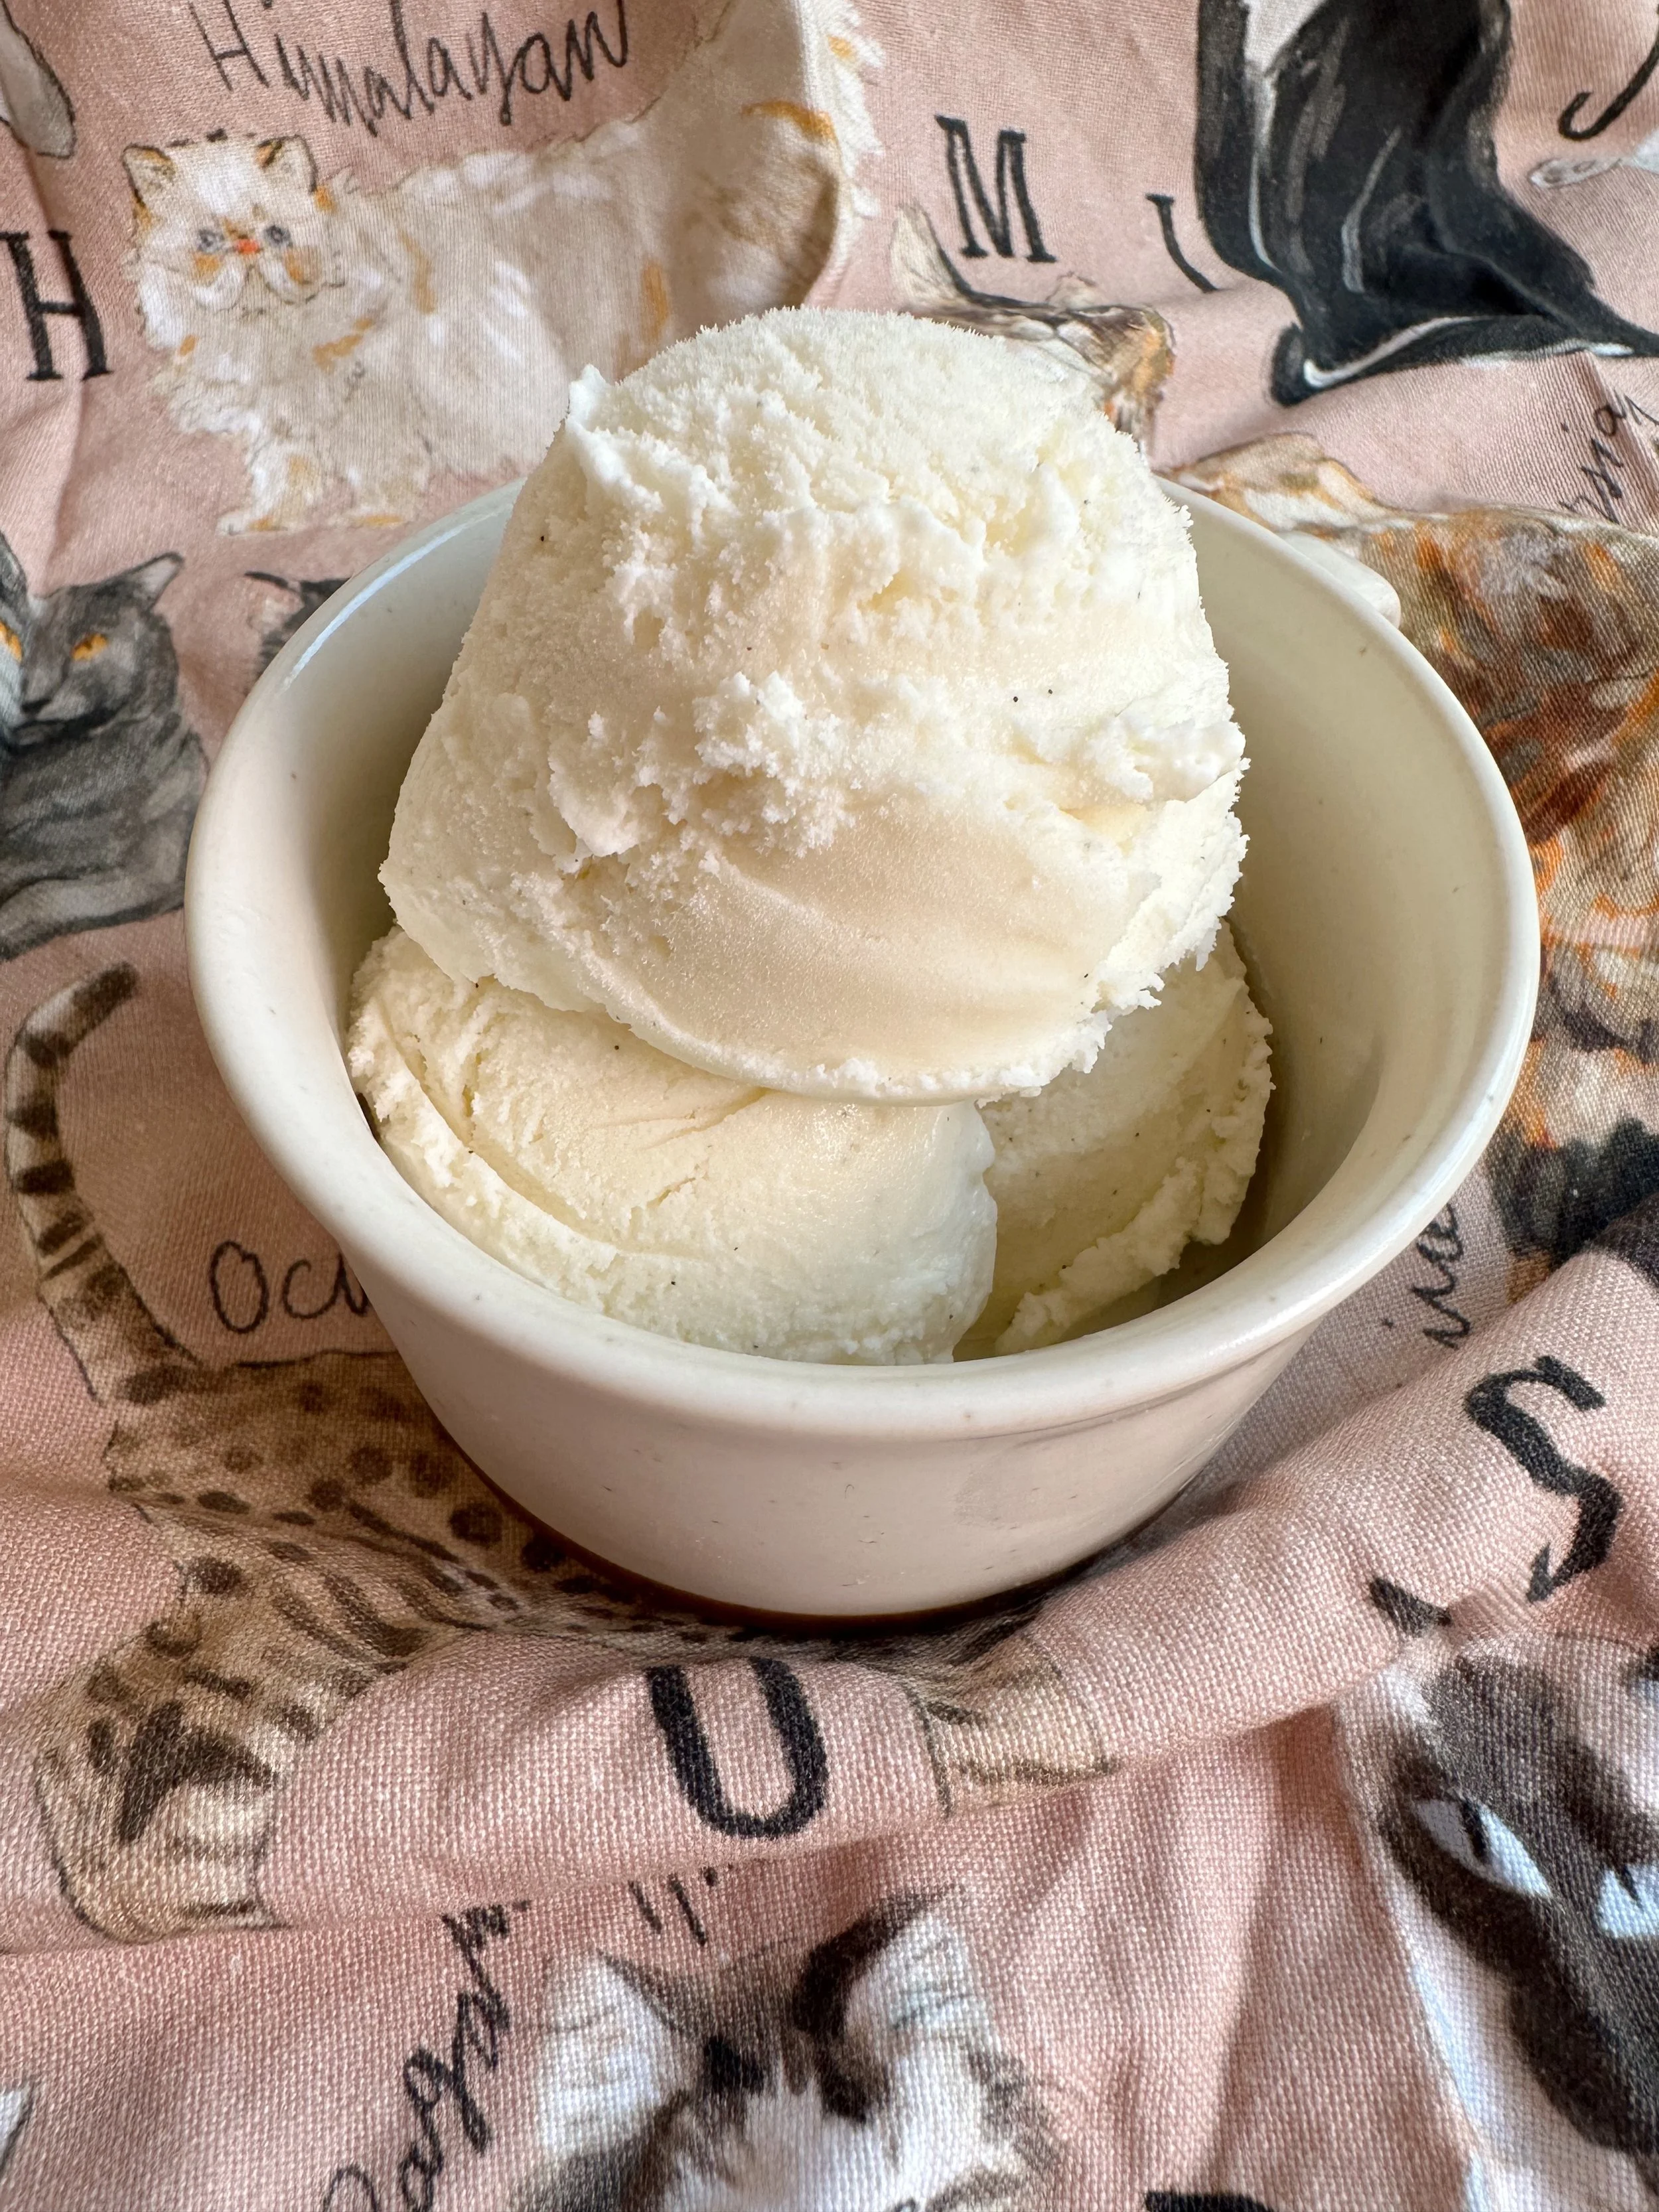
It’s creamy, smooth, and filled with those little flecks of real vanilla that let you know it’s the real thing.
This Ice Cream Recipe is About to Become Your Favorite
A lot of homemade ice cream recipes have a reputation for being complicated, but this one comes together easily. No stovetop cooking, no eggs, and just one bowl; it’s a foolproof, beginner-friendly recipe that tastes gourmet.
Here’s what makes it better than the rest:
Just 4 ingredients
No cooking or custard-making
Natural, real-food flavor
Beautiful specks of vanilla bean
Soft, scoopable texture
If you’ve ever felt intimidated by the idea of making your own ice cream, this is the recipe that will leave you feeling like a pro.
The Power of Natural Ingredients
There’s a noticeable difference when you use real, natural ingredients—especially in simple recipes like this. When you strip things back to the basics, quality shines through.
This recipe uses:
Real dairy for creaminess
Granulated sugar for clean, gentle sweetness
Vanilla bean paste for bold, authentic flavor
Zero artificial colors, flavors, or stabilizers
It’s everything you want in a dessert, and nothing you don’t.
Simple Ingredients List
All you need to make the most natural, easy vanilla bean ice cream is:
2 cups heavy whipping cream. This brings the richness and smooth mouthfeel.
2 cups half-and-half. A lighter cream that balances the texture.
1 cup sugar. Just the right amount of sweetness without being overpowering.
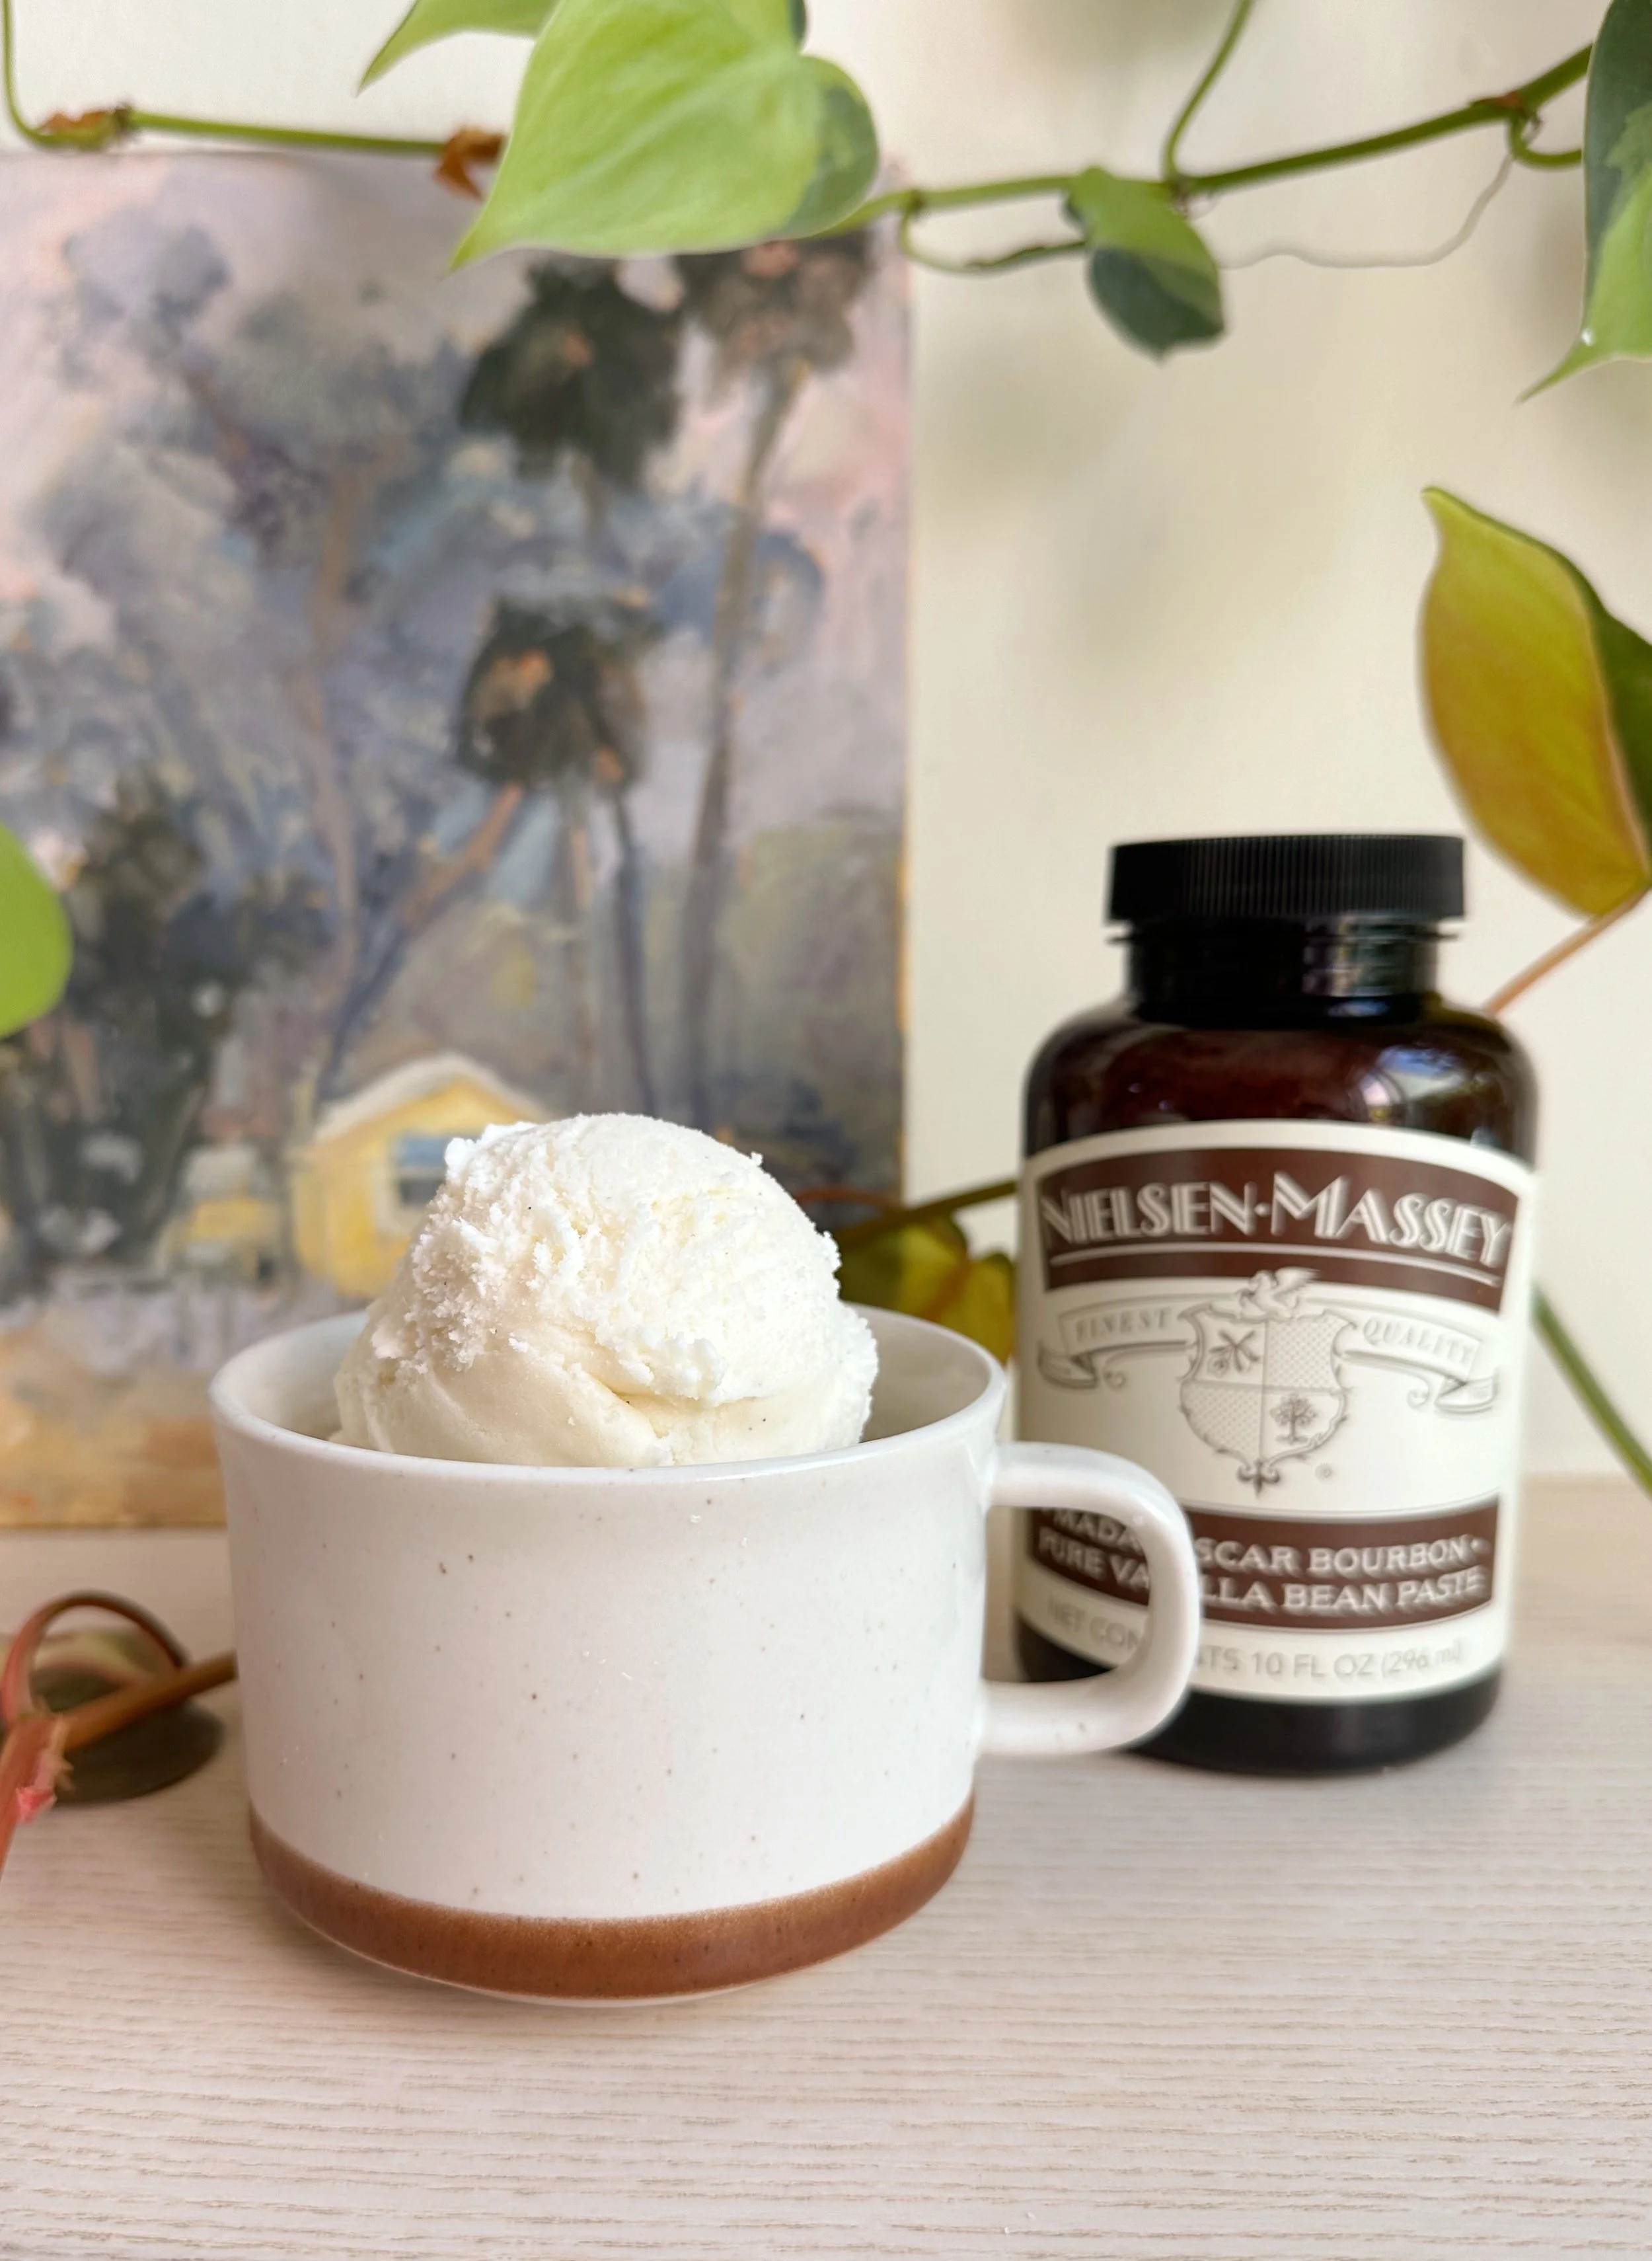
2 teaspoons vanilla bean paste. The star of the show. Deep vanilla flavor and visual appeal.
That’s it. Just four ingredients—no eggs, no cooking, no fuss.
What Is Vanilla Bean Paste?
If you’ve never worked with vanilla bean paste, welcome to a whole new world! It’s a thick, syrupy product that contains real vanilla bean seeds, giving your ice cream those signature vanilla specks and a deeper, more aromatic flavor than regular extract.
Why I Love It:
Easier than scraping a vanilla pod
More flavorful than extract
Adds visual appeal and gourmet vibes
If you don’t have it, you can substitute 1:1 with pure vanilla extract, but for the full experience, vanilla bean paste is worth the splurge.
How to Make Homemade Vanilla Bean Ice Cream
Making this ice cream couldn’t be easier. You’ll only need 10 minutes of active time.
Step 1: Whisk the Ingredients
In a large mixing bowl, combine:
2 cups heavy whipping cream
2 cups half-and-half
1 cup sugar
2 teaspoons vanilla bean paste
Whisk until the sugar is fully dissolved. This usually takes 2–3 minutes.
Tip: Taste your base here! The flavor will mellow slightly once frozen, so you can adjust to your liking.
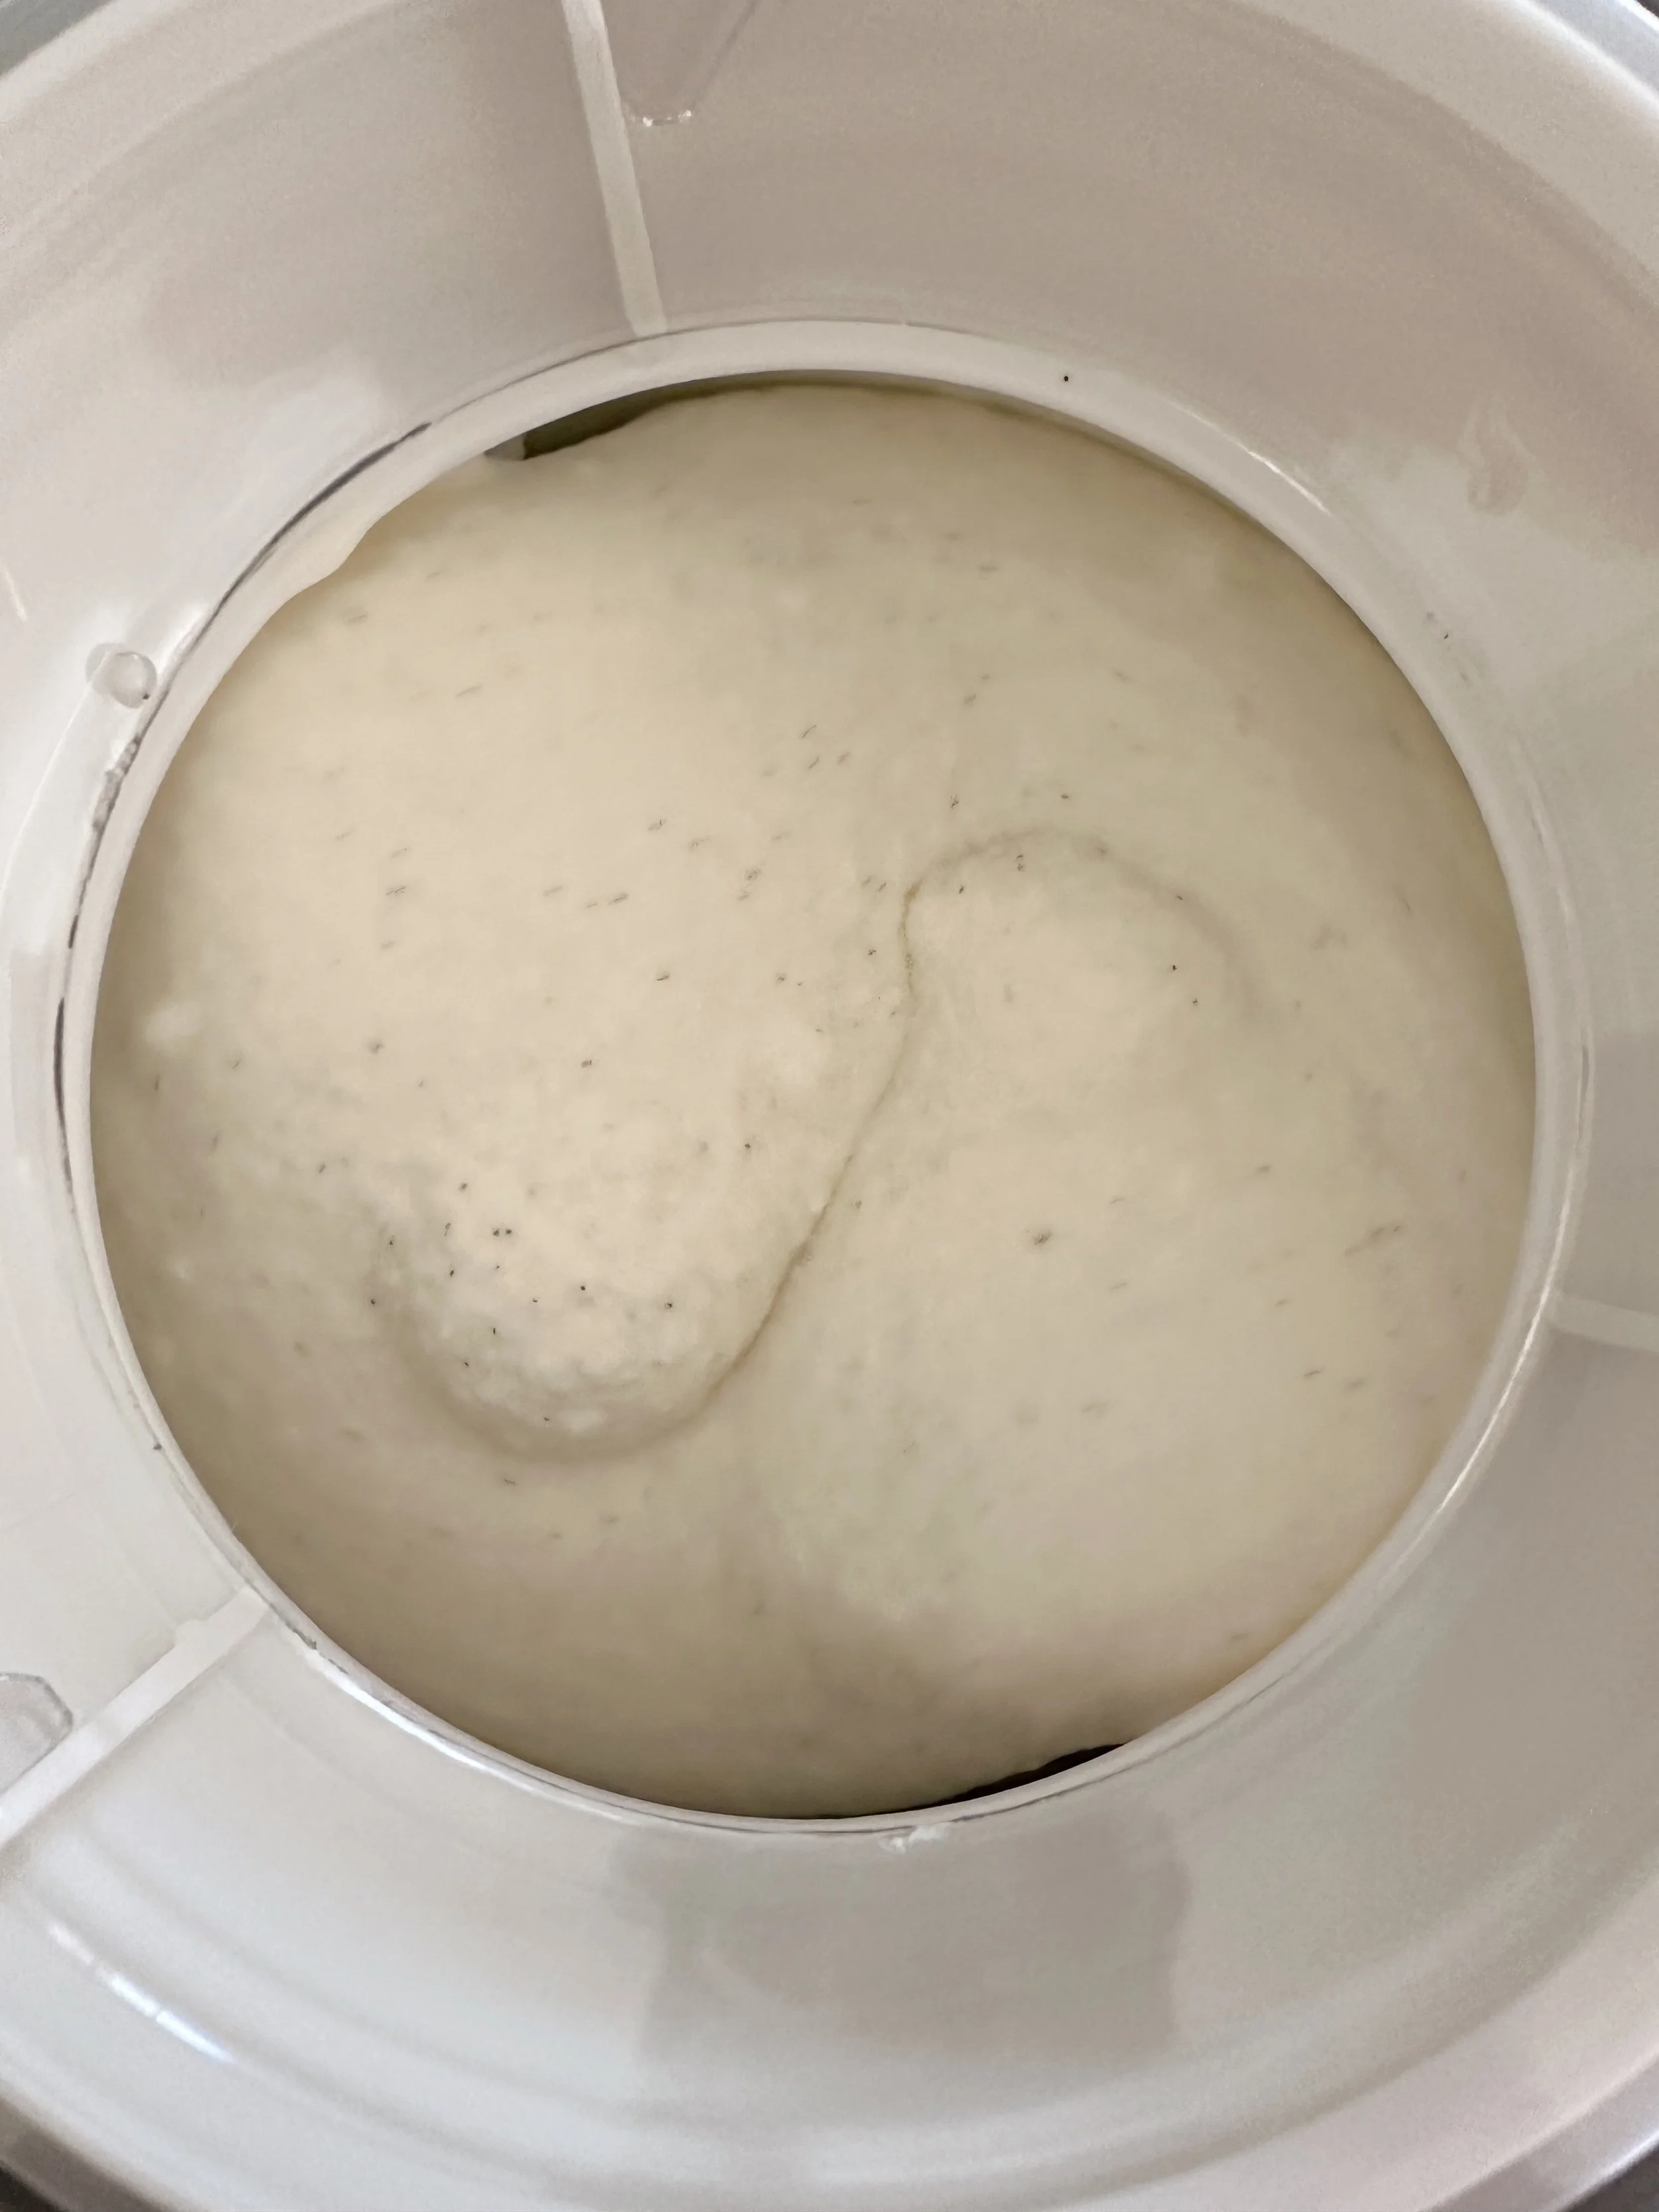
Step 2: Pour Into Ice Cream Maker
Turn on your ice cream maker and slowly pour in the cream mixture. Let it churn for 20–25 minutes, or until it reaches a thick, soft-serve consistency.
Step 3: Freeze to Firm Up
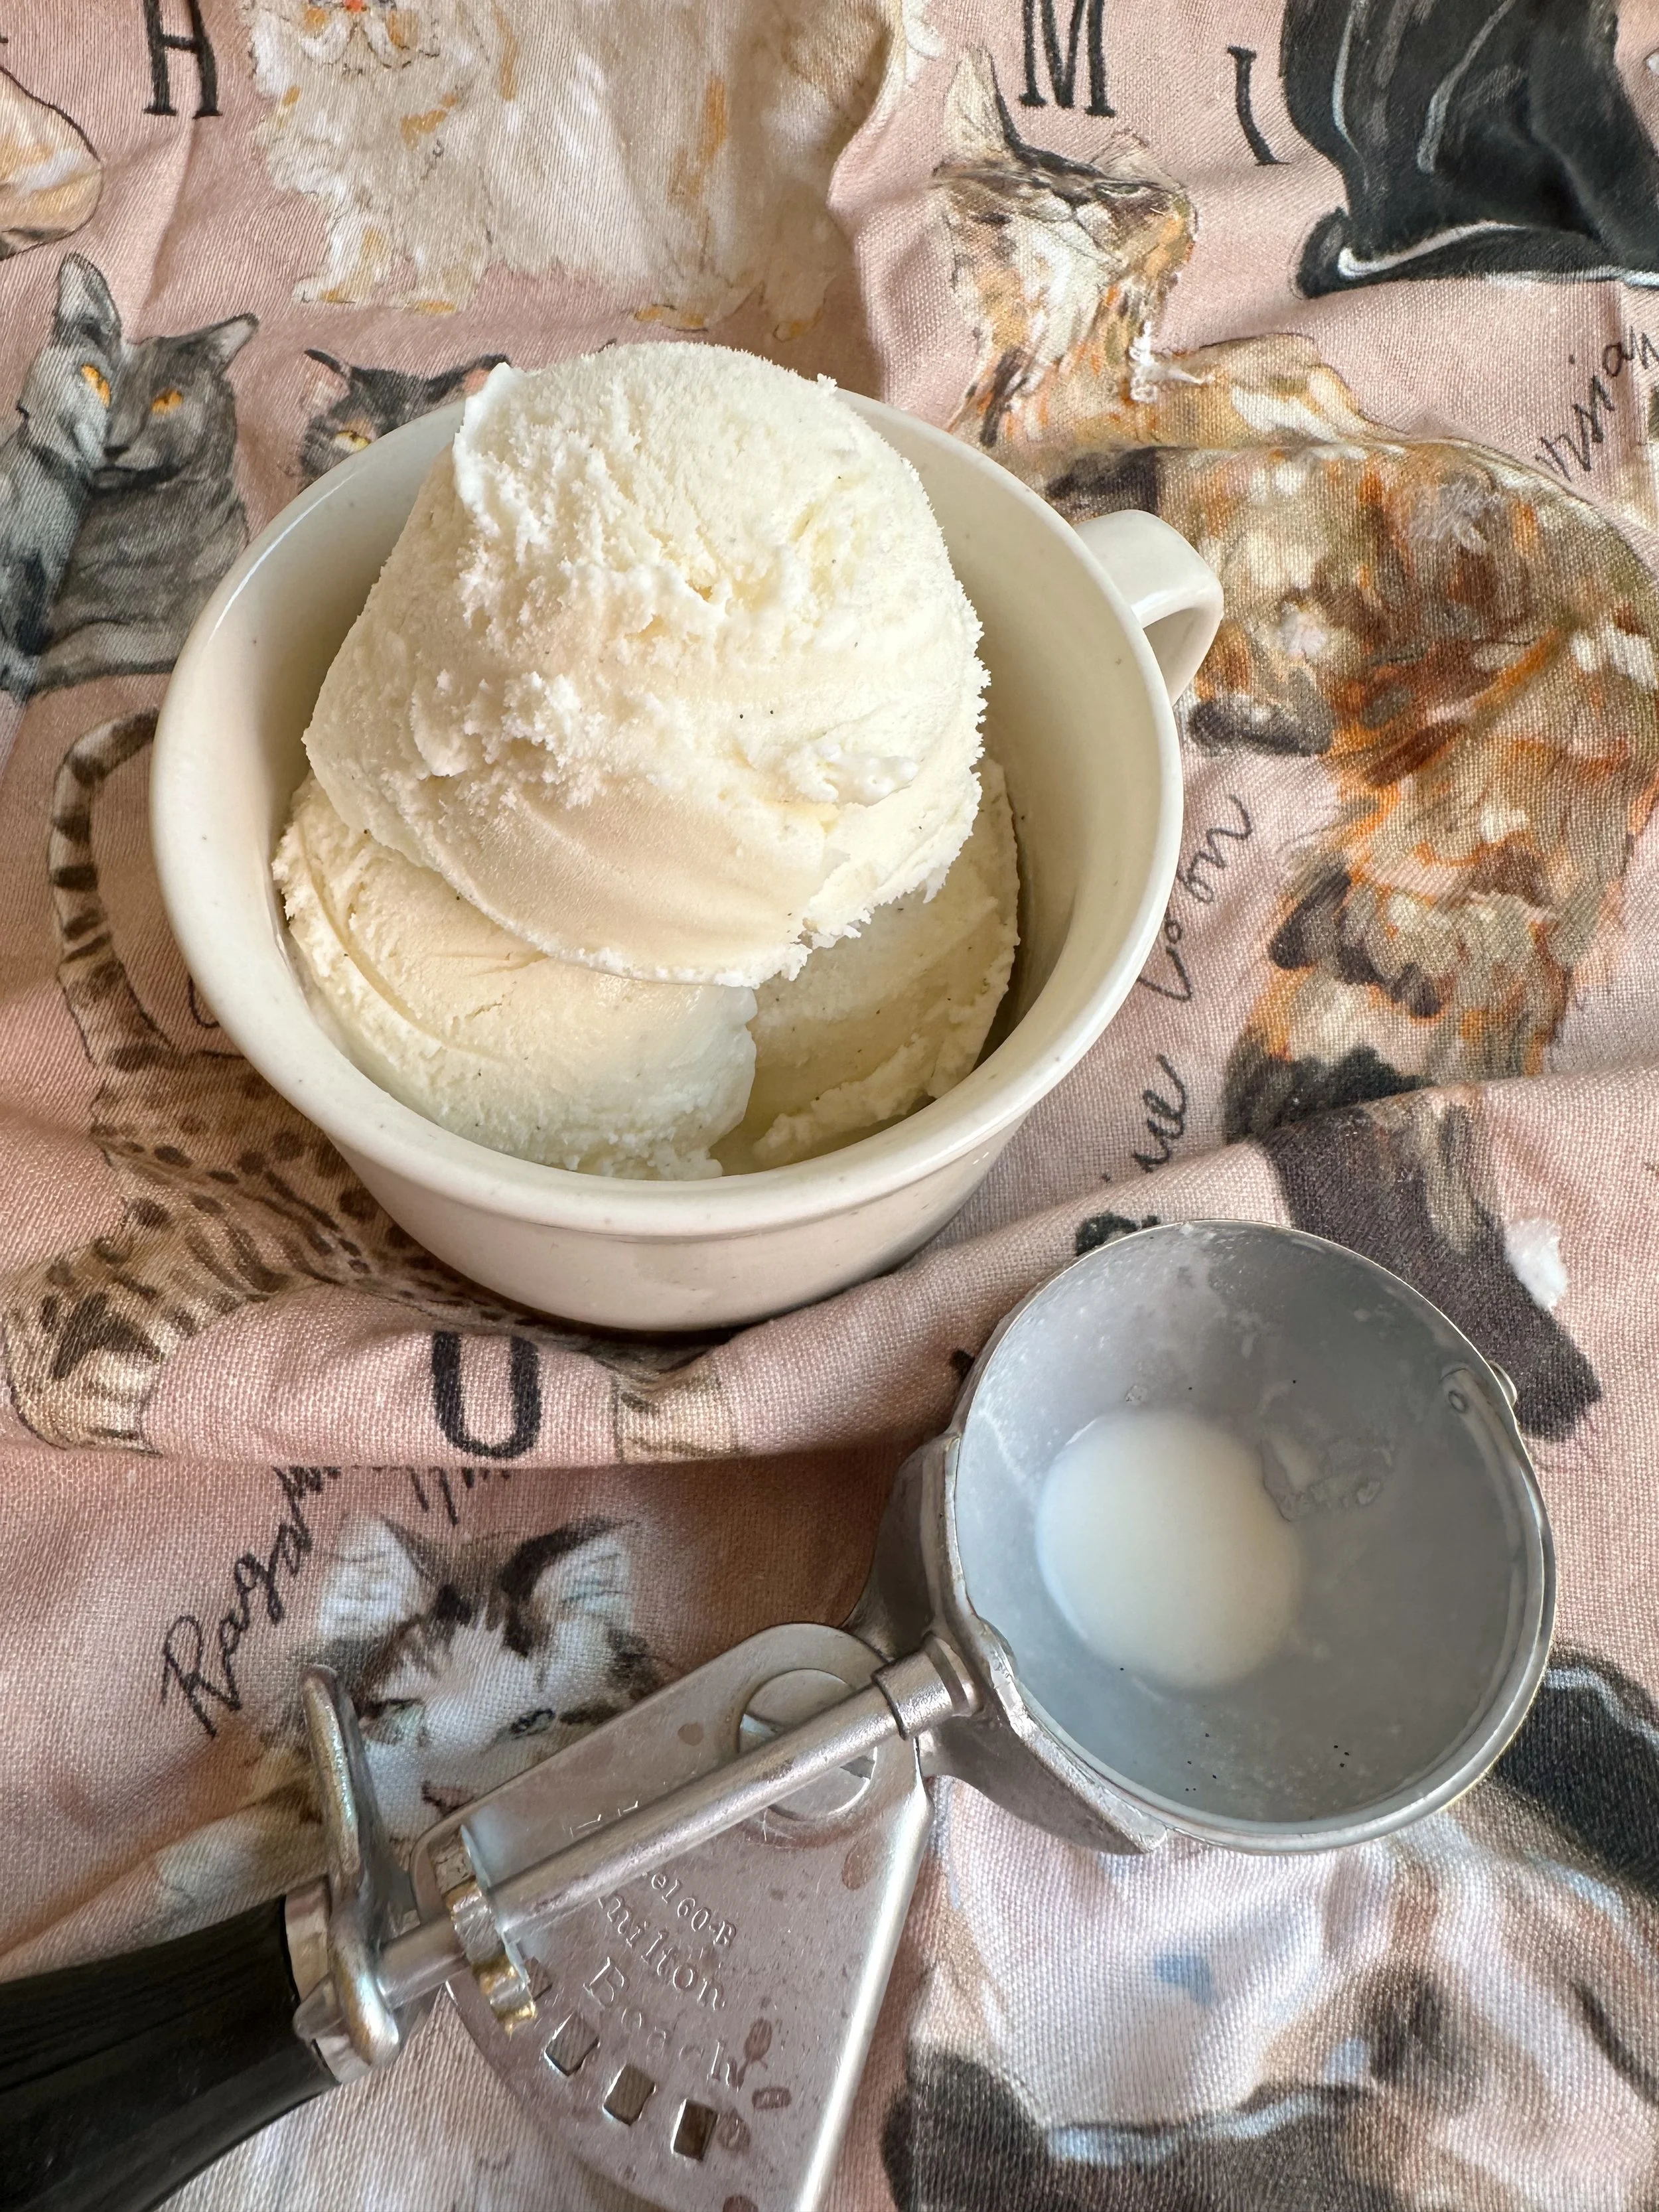
Transfer the churned ice cream into an airtight container. Freeze for 4–6 hours or overnight for a firmer, scoopable texture.
Tips for the Best Homemade Ice Cream
Even though this recipe is simple, these tips will help you get ultra-creamy, dreamy results:
Use Cold Ingredients. Starting with chilled cream and half-and-half shortens the churning time and improves texture.
Don’t Skip the Vanilla Bean Paste. Those specks are more than pretty—they pack real flavor. I get mine here.
Store Properly. Use an airtight, freezer-safe container (I like these) and press a piece of parchment or wax paper directly on the surface before sealing. This prevents ice crystals and keeps it fresher longer.
Add Mix-Ins at the End. If you want to get creative, stir in crushed cookies, chocolate chips, or swirls of jam in the final moments of churning, just before freezing.
Partner Up!
This vanilla bean ice cream can hold its own as a solo star, but the more, the merrier, so why not drop a big scoop onto one of these classic pairings?
Vegan + Gluten Free Peach Crumble
Fun Serving Ideas:
Ice cream sandwiches
Waffle cone sundaes
Root beer or cold brew floats
Scooped over grilled fruit (like peaches or pineapple)
However you serve it, the clean, natural flavor shines through every bite.
How to Store Homemade Ice Cream
Keep your ice cream tasting fresh and creamy by following a few storage tips:
Use an airtight container
Place a layer of wax paper or plastic wrap directly on the surface
Store in the coldest part of your freezer (usually the back)
Use within 2–3 weeks for the best flavor and texture
Tip: Homemade ice cream freezes harder than store-bought. Let it sit at room temperature for 5–10 minutes before scooping.
FAQs About This Recipe
Q. Can I make this ice cream without an ice cream maker?
Sure! Pour the mixture into a shallow freezer-safe dish. Every 30 minutes, stir and scrape down the sides for 3–4 hours. The texture won’t be quite as creamy, but it will still be delicious.
Q. Is this recipe egg-free?
Yes! This recipe uses no eggs and requires no cooking. It’s a great choice for those avoiding egg-based custards.
Q. Can I use milk instead of half-and-half?
You could, but it will significantly reduce creaminess. For the best texture and flavor, stick to the heavy cream + half-and-half combo.
Q. What’s the difference between vanilla bean paste and vanilla extract?
Vanilla bean paste contains the seeds of the vanilla pod and has a thicker, richer flavor profile. It also adds beautiful black specks to the ice cream.
Keeping It Easy and Natural
Great food doesn’t have to be complicated. This easy vanilla bean ice cream recipe is proof that sticking to natural, high-quality ingredients and a simple method, pays off.
Skip the store-bought tubs and make a batch of this easy homemade ice cream—I dare you! Your future self (and your taste buds) will thank you, not just because it’s delicious, but because it feels good to make something from scratch.
Easy Vanilla Bean Ice Cream
Makes about 1 1/2 quarts
Ingredients
2 cups heavy whipping cream
2 cups half-and-half cream
1 cup sugar
2 teaspoons vanilla bean paste—I use this. (Or sub with 2 teaspoons pure vanilla extract.)
Equipment Note: You’ll need an ice cream maker for this recipe. I’ve been using this basic maker for years, and it’s never failed me. I like that it’s affordable, easy to use, and small enough to store in even the tiniest of kitchen spaces (e.g. mine).
instructions
In a large mixing bowl, whisk all ingredients until sugar is dissolved. Turn your ice cream maker on and pour in cream mixture. Churn in your ice cream maker according to manufacturer’s directions.
Transfer ice cream to an air-tight container (I love these) and chill in the freezer for a few hours or overnight.